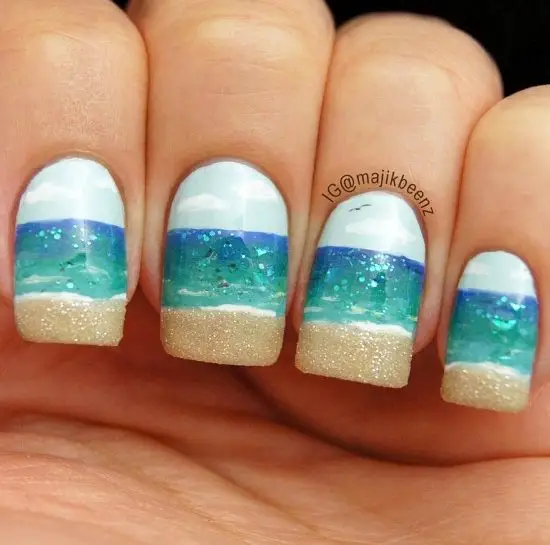
I can’t believe how these ladies nail the beach (i.e. create beach nail art). While this fun summer look is just a little bit too impractical for me, the art I adore. And I’m thinking of creating beach art for my toe nails!
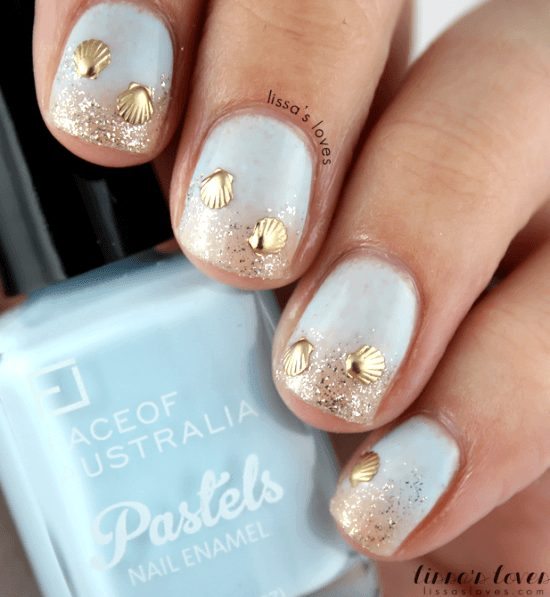
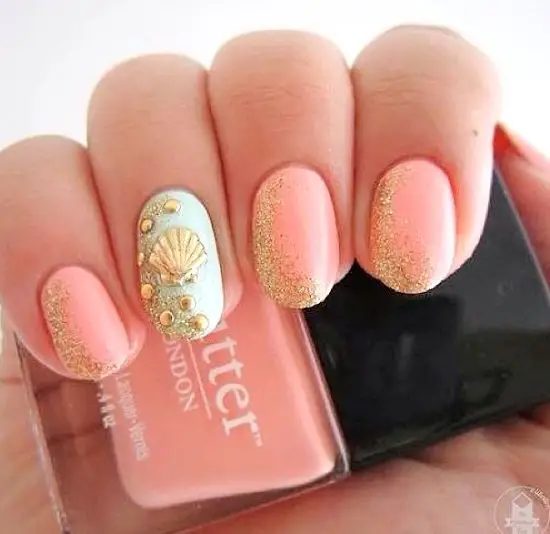
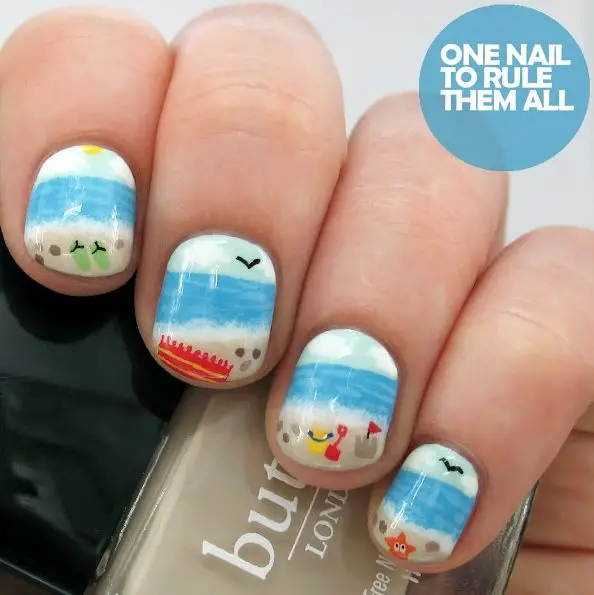
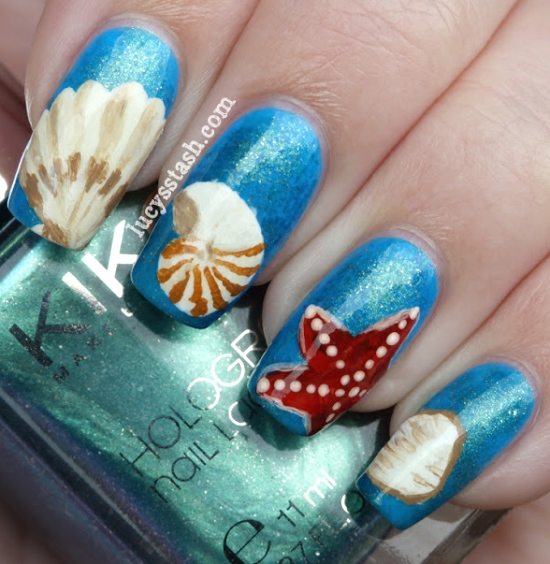
For more information about the beach nail art featured, click on the link below each picture. It takes you right to the source where you will find a tutorial, except for number 3 which I was unable to locate the source. At the end of the post, you also find links to all the products you need to create fabulous summer nails!
You Tube Tutorial by Chalkboard Nails
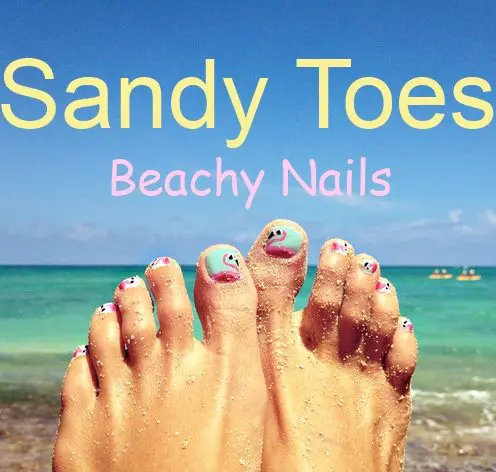
The tips below will give you an idea how to create beach nail art in a nutshell, including product sources.
How to create beach nail art:
You can paint on your own nails or get Natural Color False Nails. Then pick a great beachy summer color such as a fresh Blue, Turquoise, bright sunny Yellow, or sparkly Blue Glitter that mimics the sea. Or simply get a Summer Beach Nail Kit! If you want to add tiny shells or gems like you see in picture number one and two, you push them in when your nails are still tacky. Let dry, then top with a clear coat. Otherwise take to a tiny paint brush and/or nail art pen and create your beach nail art! It’s not a quick look, but that makes it extra special. Other options are adding Decals and Stickers! This link will take you to Ebay for a variety of designs and ideas.


